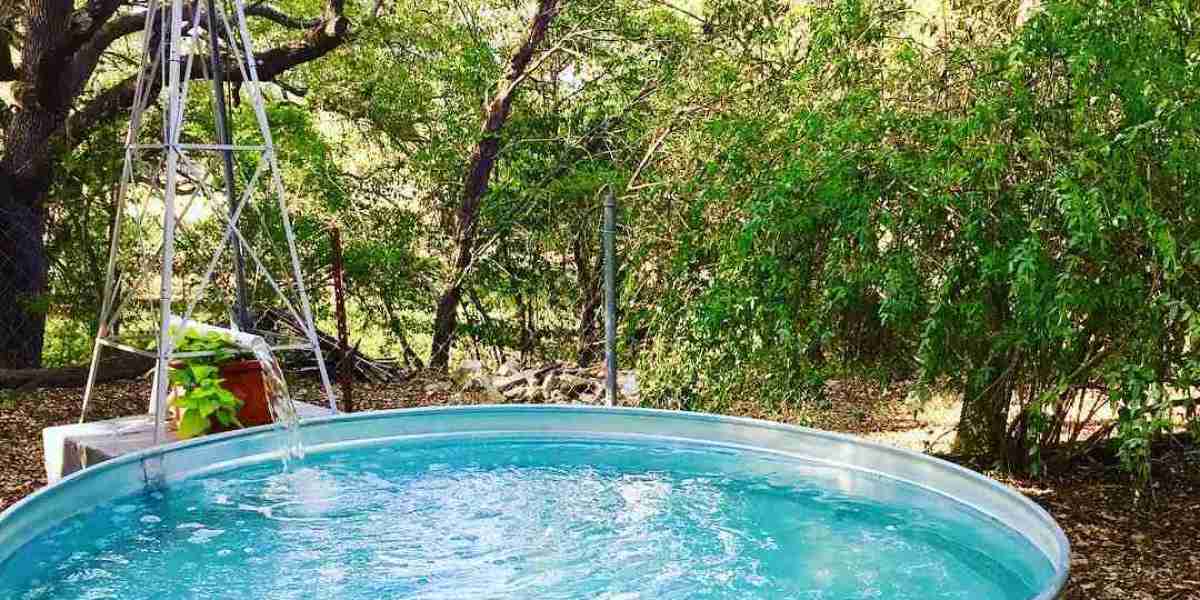
Installing a stock tank pool pump is a straightforward process that ensures proper water circulation and filtration for your DIY swimming oasis. Follow this step-by-step guide to set up stock tank pool pump:
Materials Needed:
- Stock tank pool pump
- Hoses (if not included with the pump)
- Hose clamps
- Teflon tape
- Pool chemicals (for water treatment)
- Power source (outlet or extension cord)
- Pool skimmer or inlet port (if applicable)
Step 1: Choose the Right Location
Select a location near the stock tank where the pump can be easily accessed, preferably on a stable and level surface. Ensure the pump is close to a power source.
Step 2: Connect Hoses
If the pump doesn't come with pre-attached hoses, connect the inlet and outlet hoses to the pump. Use hose clamps to secure the connections. Apply Teflon tape to the threaded connections for a watertight seal.
Step 3: Position the Pump
Place the pump near the stock tank. If your stock tank has a designated skimmer or inlet port, position the pump accordingly. Ensure the pump is stable and level.
Step 4: Connect to the Stock Tank
Connect the pump's inlet hose to the stock tank. If your stock tank has a skimmer or inlet port, attach the hose accordingly. Secure the connection with hose clamps.
Step 5: Connect to the Pool Skimmer (If Applicable)
If you have a pool skimmer, connect the outlet hose from the pump to the skimmer. Use hose clamps to secure the connection.
Step 6: Secure Power Connection
Connect the pump to a power source. Ensure the power cord and extension cord (if used) are safely secured to prevent tripping hazards. If the pump has a dedicated switch, ensure it is in the off position.
Step 7: Prime the Pump (If Necessary)
If your pump is not self-priming, you may need to prime it before turning it on. Follow the manufacturer's instructions for priming, which typically involves filling the pump housing with water.
Step 8: Turn On the Pump
Switch on the pump and observe water flow through the hoses. Check for any leaks at the connections. If you encounter leaks, turn off the pump and tighten the connections.
Step 9: Adjust Flow Rate
If your pump allows for adjustable flow rates, set it to the desired level. This can be important for optimizing water circulation and filtration based on your stock tank size.
Step 10: Check Skimmer and Filter
If you have a skimmer, ensure it is functioning correctly. Monitor the pump's filter or skimmer basket for debris and clean it regularly to maintain optimal performance.
Step 11: Treat the Water
Add appropriate pool chemicals to balance the water chemistry. Test and adjust pH, chlorine levels, and other chemical parameters as needed.
Step 12: Monitor and Maintain
Regularly check the pump, hoses, and connections for any signs of wear or damage. Keep the area around the pump clean and free from debris.
Congratulations! Your stock tank pool pump is now installed, and your DIY swimming oasis is ready for a season of refreshing dips. Enjoy your backyard paradise!


